Admin | Post : 2024-12-03
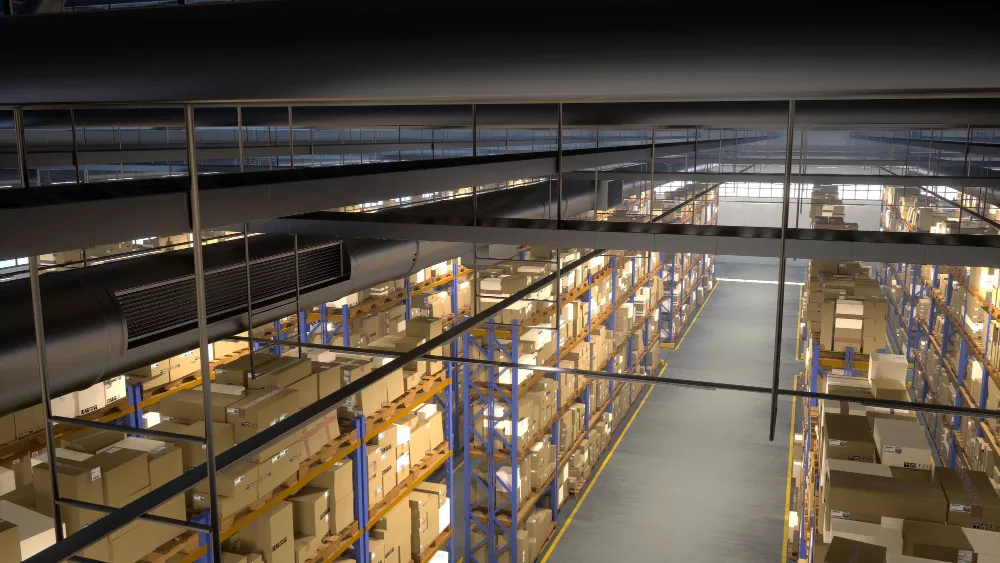
A guide on how to re-fix your HD racking system.
Step-by-step guide to re-fixing an HD racking system
As our previous blog was about dismantling the racking system, we hope you understand how to dismantle the racking system precisely. In this blog we are talking about how to re-fix it. Racking and shelving companies in UAE will help you re-fix your HD racking system easily, so let’s get into the blog.
Table of contents:
Step 1: Review dismantled components
Step 2: Prepare the installation area
Step 3: Assembly of the uprights
Step 4: Attach the horizontal beams
Step 5: Install shelves
Step 6: Anchor the structure
Step 7: Perform a safety inspection
Step 8: Organize your storage items
Step 1: Review dismantled components
· Make sure you have all the arranged dismantled components ready for an easy installation.
· Clean each component, remove the dust and Greece
· Before installing, organize the similar components so it is easy to identify.
· Also, make sure there are no damaged parts.
Step 2: Prepare the installation area
· The installation area to place the rack must be ready.
· Clean the floor: Remove any obstructions in the floor.
· Level the surface to avoid unevenness.
· Mark space for each rack: Mark and make space for each rack, so each rack can have enough accessibility.
Step 3: Assembly of the uprights
· Uprights are also known as vertical frames. First things first, assemble the uprights according to your layout plan.
· Safety tip: If the uprights are too heavy for you, make sure you work with a partner to help you through.
Step 4: Attach the horizontal beams.
· Once uprights are fixed, next is the horizontal beam.
· Start from the bottom: When fixing horizontal beams, always start from the bottom so that you get a perfect idea and a great fix.
· Take it to the next level: Once done with the bottom, take it to the top until you complete.
· Level check: Measure each of the horizontal beams is placed perfectly.
Step 5: Install shelves
· It’s time to place the shelves onto the horizontal beams.
· Secure the shvesel: Lock them according to the instructions of the manufacturer.
· Even weight distribution: Ensure the even shelves distributions across the beams.
Step 6: Anchor the structure
· This step is crucial: Anchor the racking system to prevent movement.
· Drill the anchor holes: Create a hole through a driller in the marked area.
· Insert anchor bolts: Tighten the anchor bolts tightly so that the racking system is fixed in where you placed them.
Step 7: Perform a safety inspection.
· Once you are done, the first thing is to perform a safety inspection.
· Check all steps: You must check all steps are done with precision; especially check all the screws, bolts and joints are tightly secured and make sure you didn’t leave even one out
· Verify weight capacity: After the fixing, it’s significant to check how much weight your rack can hold; you must check this by placing weights to confirm.
Step 8: Organize your storage items
· At last, you can now organize your things in the rack.
· Heavy on bottom: Place heavy items on the top to improve stability of the racking system
· Labeling: Labeling will help you to organize as well as take things easy from your rack because, of course, you know where it is and why.
· No overloading: When you load things, make sure you stick to the instructions of the manufacturer.
Conclusion: As you read, re-fixing a racking system needs patience and an idea on how to fix it. You can refer to this blog when you need to re-fix a racking system. Make sure you follow each step with precision and be careful while fixing.
If you need help to fix your racking system, you can connect with Racking and Shelving Providers in UAE; we are glad to help you!